CI/CD Pipeline: GitHub Actions with AWS ECS
CI/CD pipeline which builds a docker container and runs it on AWS ECS which is configured for autoscaling and load-balancing

Introduction
CI/CD are parts of the DevOps process for delivering new software as soon as possible with help of automated test and automation build tools like Jenkins, GitHub-Actions.
Few benefits of implementing CI/CD in your organization:
Faster Delivery
Observability
Smaller Code Change
Easier Rollbacks
Reduce Costs
AWS Elastic Container Service it gives you a managed set of tools to run Docker containers over AWS maintained compute resources.
In this blog post, I will explain "how to Dockerize a flask hello-world application that takes a message from an env variable and pushes it to AWS ECR"
Prerequisites
- AWS Components
Identity and Access Management (IAM)
Elastic Container Registry (ECR)
Elastic Container Service (ECS)
Elastic Compute Cloud (EC2)
Application Load Balancer
Code, simple "Hello world!" flask app
Dockerize flask app
GitHub account for push code into it and CI/CD workflow(gh-actions)
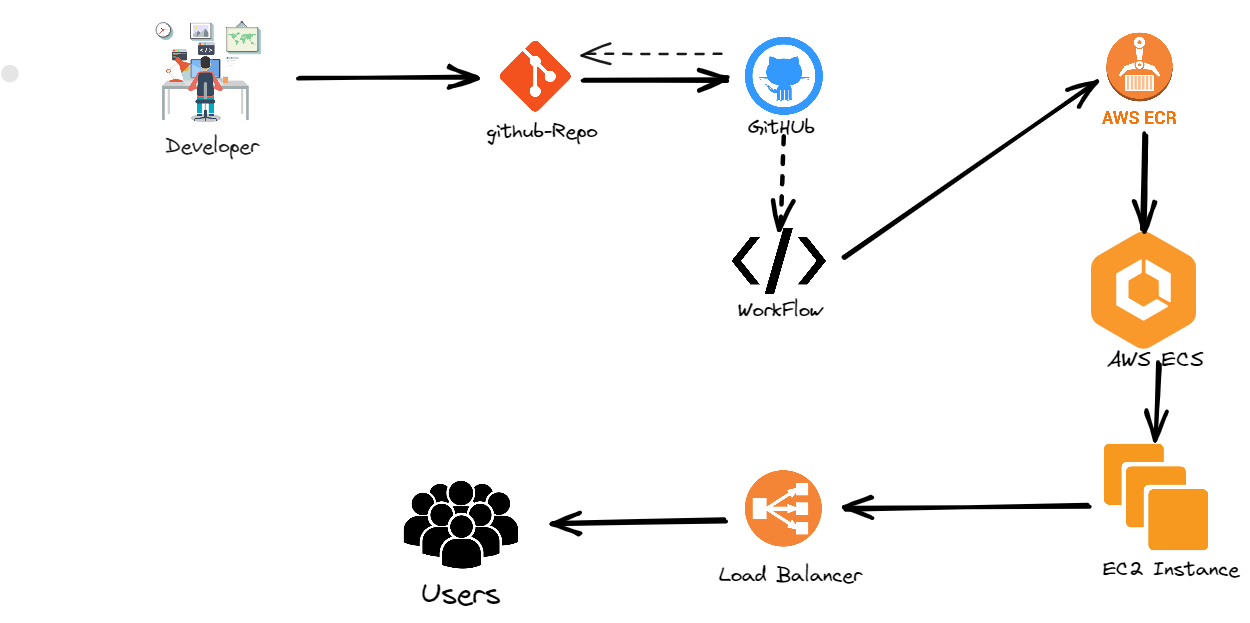
Architecture
This is how our architecture will look like after setting up the CI/CD Pipeline with AWS
Creating IAM users (console)
You can use the AWS Management Console to create IAM users.
Sign in to the AWS Management Console and open the IAM console
In the navigation pane, choose Users and then choose Add users
Type the user name for the new user. This is the sign-in name for AWS
Select the type of access the user will have. Programmatic access is enough.
Choose Next: Permissions
Tags is Optional, you can skip this
Now, Review to see all of the choices you made up to this point. When you are ready to proceed, choose Create user
To save the access keys, choose Download .csv and then save the file to a safe location
AmazonEC2FullAccess
AmazonEC2ContainerRegistryFullAccess
AmazonECS_FullAccess
EC2InstanceProfileForImageBuilderECRContainerBuilds

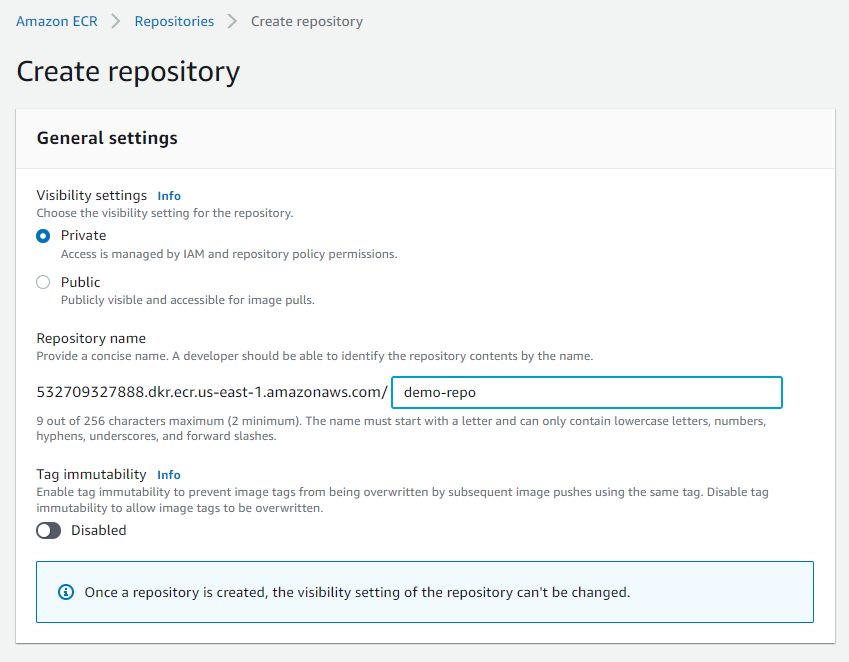
Elastic Container Registry (ECR)
Now we are going to create an image repository
Open the Amazon ECR console
Choose to Get Started
For Visibility settings, choose Private
For Repository name, specify a name for the repository
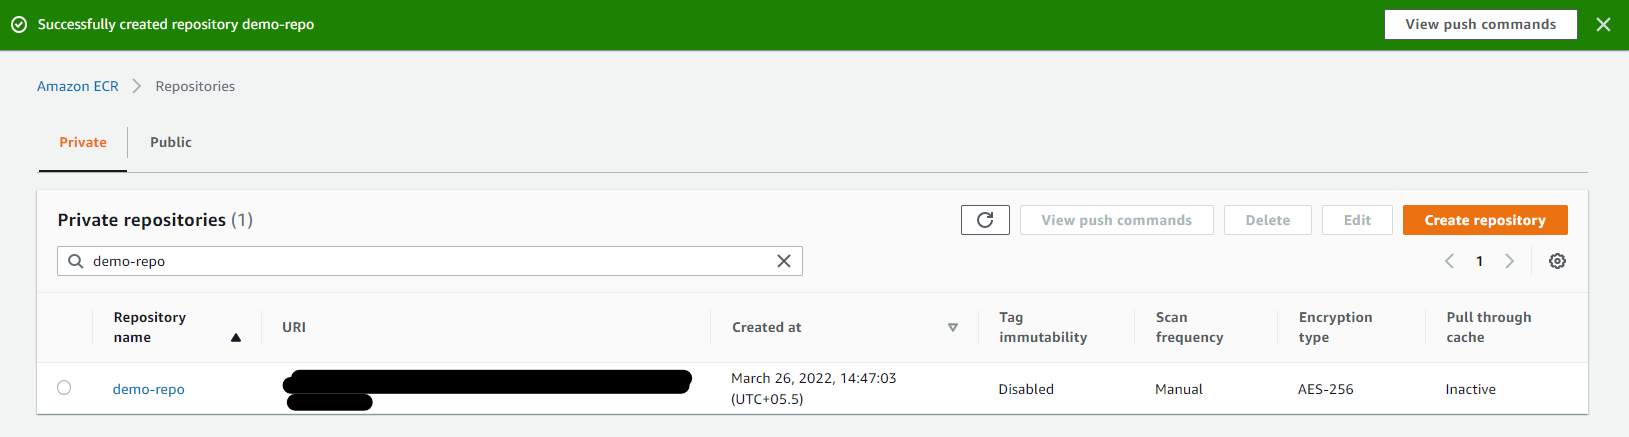
Choose to Create a repository
Elastic Container Service (ECS)
Components:
Task definition
Cluster
Service
Create Task definition
A task definition is required to run Docker containers in Amazon ECS.
Let's create Task definition:
Open the Amazon ECS console
Choose EC2
In the navigation pane, choose Task Definitions, Create a new task definition.
For the Task definition family, specify a unique name for the task definition.
Assign a Task role, if don't have a Task role then skip it.
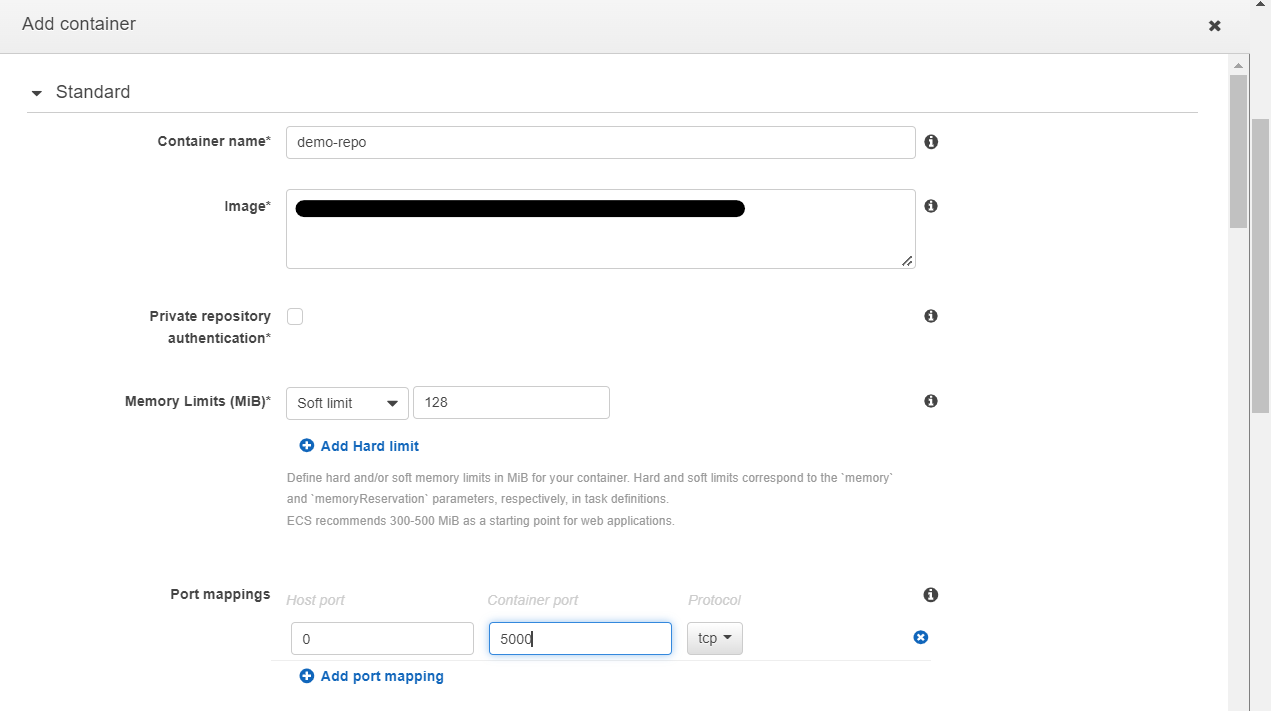
Container definitions, click on Add container. In *container name * add ECR repo name and at the place of Image add ECR repo URI link. And other details are shown below in the image
Create Cluster
Open the Amazon ECS console
In the navigation pane, choose Clusters.
On the Clusters page, choose Create Cluster.
Select cluster template: EC2 Linux + Networking
On the Configure cluster page, enter a Cluster name.
On Instance configuration, go with (t2.micro) it is under free tier. And create an SSH key for your instance as well.
Choose to Create.
Create Service
In Configure service, set Launch type (EC2), Service Name, and Number of tasks(1). For other options stay with default.
Next Step, Select Application Load Balancer(ALB)
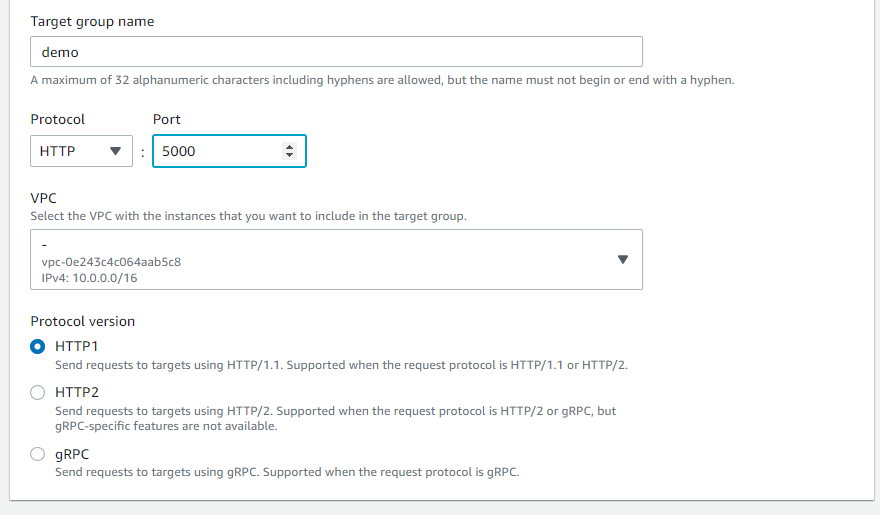
Configure your ALB settings with your running EC2 VPC. In target group settings you have entered the port number 5000
Come back to ECS Services, and select your the ALB and Target Group
Choose Create service
AWS Security Groups
Edit EC2 Inbound Security Groups rules like this ->
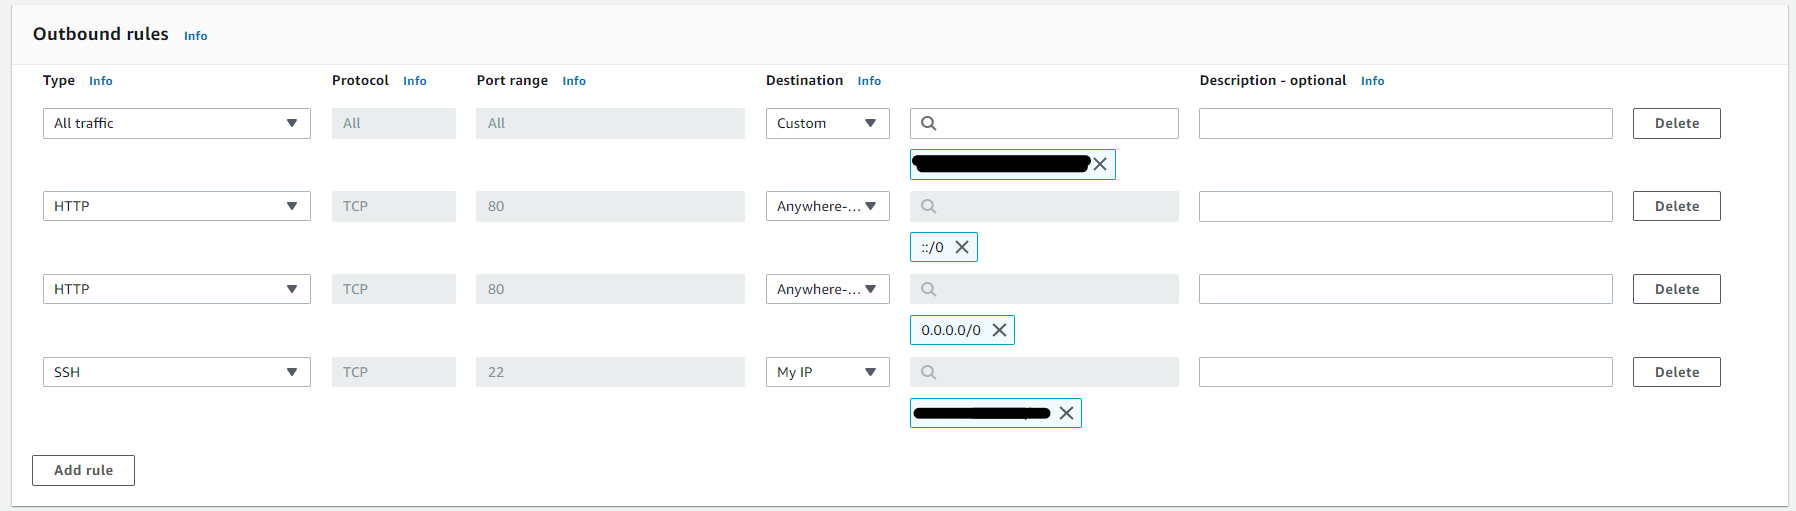
Note: In All traffic rules we have to give the security group's name on which EC2 instance running.
Now, make a GitHub repo and push Flask app code and Dockerfile into it.
Flask app code
import os
from flask import Flask

app = Flask(__name__)

@app.route('/')
def SayHello():
    return f"{os.environ.get('MSG')}"

if __name__ == '__main___':
    app.run(debug=True, port=5000, host='0.0.0.0')
GitHub Repository for code: https://github.com/rishavmehra/Kubesimplify-CI-CD
Dockerize this flask Application code which responds with a message that is set up as an environment variable and deploys the docker image to AWS ECR.
Dockerfile
FROM python:3.9-alpine
WORKDIR /<github-repo>
ENV  MSG="Hello World!"
COPY . .
RUN pip3 install -r requirement.txt
EXPOSE 5000
CMD [ "python3", "-m" , "flask", "run", "--host=0.0.0.0"]
GitHub Repository for Dockerfile: https://github.com/rishavmehra/Kubesimplify-CI-CD Let’s just try to understand the instructions of our Dockerfile.
FROM python:3.9-alpine
This will be our base image for the container.WORKDIR /github-repo
This will be set as a working directory in the container.ENV MSG="Hello World!"
this MSG env passed in flask code and return Hello World!COPY . .
Copy files and folders with dependencies from the host machine to the container.RUN pip3 install -r requirement.txt
Install dependencies.EXPOSE 5000
Allow to port 3000 of the container.CMD [ "python3", "-m" , "flask", "run", "--host=0.0.0.0"]
Start the application
This is the Docker file that we will use to create a docker image.
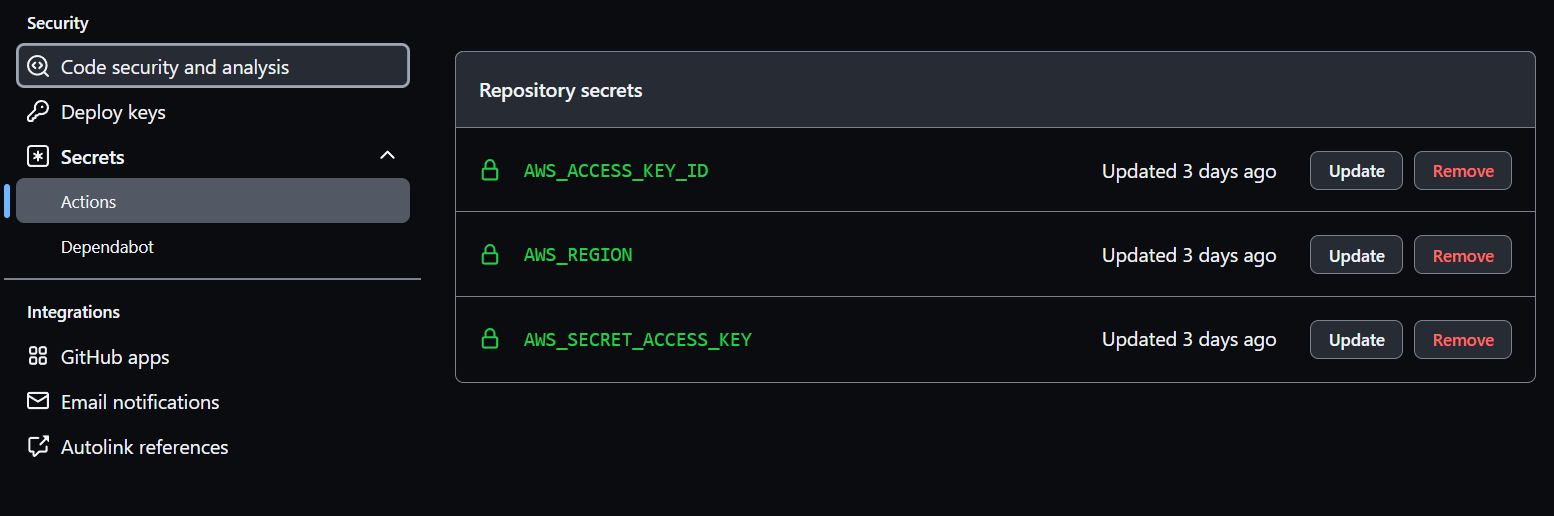
GitHub secrets
Now we are going to put our AWS credentials in GitHub secrets in the working repository.
Under your repository name, click Settings
In the left sidebar, click Secrets
Under Secrets, click on Actions
Now set New repository secret
AWS_ACCESS_KEY_ID= xxxxxxxxxxxxx
AWS_REGION= xxxxxxxxxxxx
AWS_SECRET_ACCESS_KEY=xxxxxxxx
For running our CI/CD we need task-definition, it is the requirement for the CI/CD pipeline with GitHub-actions.
Go to the Cluster, click on the “Tasks Definitions ” tab, and then open the running “Task”. Click on the “JSON” and copy all the JSON text and put into a .json file and push it on GitHub
GitHub Actions
What is GitHub action?
GitHub Actions is a continuous integration and continuous delivery platform that allows you to automate your development workflow. GitHub Actions allows you to create, test, and deploy your code all from within GitHub in a fast, safe, and scalable manner. Every time you push, a build is immediately generated and executed, allowing you to quickly test each and every commit.
To know about gh-actions in detail: Click Here
GitHub-Actions Workflow:
Workflow is a configurable, automated process that we can use in our repository to build, test, package, release, or deploy your project. Workflows are made up of one or more “jobs" and can be triggered by GitHub events
Create your pipeline with Github Actions
On your GitHub repository select the Actions tab.
In search bar search for Deploy to Amazon ECS and configure it.
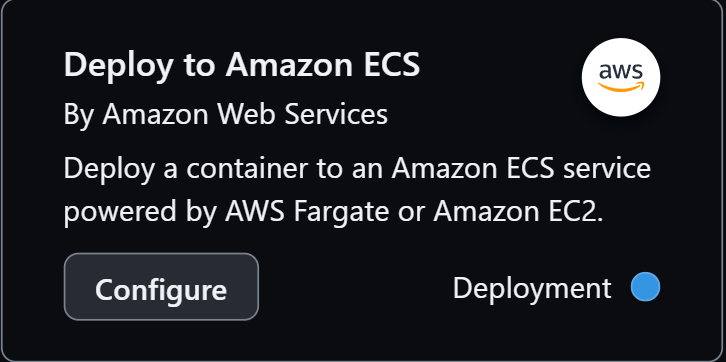
It will add a file to your repository (/.github/workflows/aws.yml) that represents your GitHub Actions.
name: Deploy to Amazon ECS

on:
  push:
    branches:
      - main

env:
  AWS_REGION: MY_AWS_REGION                   # set this to your preferred AWS region, e.g. us-west-1
  ECR_REPOSITORY: MY_ECR_REPOSITORY           # set this to your Amazon ECR repository name
  ECS_SERVICE: MY_ECS_SERVICE                 # set this to your Amazon ECS service name
  ECS_CLUSTER: MY_ECS_CLUSTER                 # set this to your Amazon ECS cluster name
  ECS_TASK_DEFINITION: MY_ECS_TASK_DEFINITION # set this to the path to your Amazon ECS task definition
                                               # file, e.g. .aws/task-definition.json
  CONTAINER_NAME: MY_CONTAINER_NAME           # set this to the name of the container in the
                                               # containerDefinitions section of your task definition

jobs:
  deploy:
    name: Deploy
    runs-on: ubuntu-latest
    environment: production

    steps:
      - name: Checkout
        uses: actions/checkout@v2

      - name: Configure AWS credentials
        uses: aws-actions/configure-aws-credentials@13d241b293754004c80624b5567555c4a39ffbe3
        with:
          aws-access-key-id: ${{ secrets.AWS_ACCESS_KEY_ID }}
          aws-secret-access-key: ${{ secrets.AWS_SECRET_ACCESS_KEY }}
          aws-region: ${{ env.AWS_REGION }}

      - name: Login to Amazon ECR
        id: login-ecr
        uses: aws-actions/amazon-ecr-login@aaf69d68aa3fb14c1d5a6be9ac61fe15b48453a2

      - name: Build, tag, and push image to Amazon ECR
        id: build-image
        env:
          ECR_REGISTRY: ${{ steps.login-ecr.outputs.registry }}
          IMAGE_TAG: ${{ github.sha }}
        run: |
          # Build a docker container and
          # push it to ECR so that it can
          # be deployed to ECS.
          docker build -t $ECR_REGISTRY/$ECR_REPOSITORY:$IMAGE_TAG .
          docker push $ECR_REGISTRY/$ECR_REPOSITORY:$IMAGE_TAG
          echo "::set-output name=image::$ECR_REGISTRY/$ECR_REPOSITORY:$IMAGE_TAG"

      - name: Fill in the new image ID in the Amazon ECS task definition
        id: task-def
        uses: aws-actions/amazon-ecs-render-task-definition@97587c9d45a4930bf0e3da8dd2feb2a463cf4a3a
        with:
          task-definition: ${{ env.ECS_TASK_DEFINITION }}
          container-name: ${{ env.CONTAINER_NAME }}
          image: ${{ steps.build-image.outputs.image }}

      - name: Deploy Amazon ECS task definition
        uses: aws-actions/amazon-ecs-deploy-task-definition@de0132cf8cdedb79975c6d42b77eb7ea193cf28e
        with:
          task-definition: ${{ steps.task-def.outputs.task-definition }}
          service: ${{ env.ECS_SERVICE }}
          cluster: ${{ env.ECS_CLUSTER }}
          wait-for-service-stability: true
Environment Variables:
AWS_REGION — Operating region of AWS services.
ECR_REPOSITORY — Name of the ECR repository that you have created.
ECS_SERVICE — Service name of the ECS Cluster.
ECS_CLUSTER — Name of the ECS Cluster.
ECS_TASK_DEFINITION — Path of the ECS task definition in JSON format which is stored in GitHub repository.
CONTAINER_NAME — Docker container name under the ECS task definition.
- After setting all of this env's start committing the .yaml
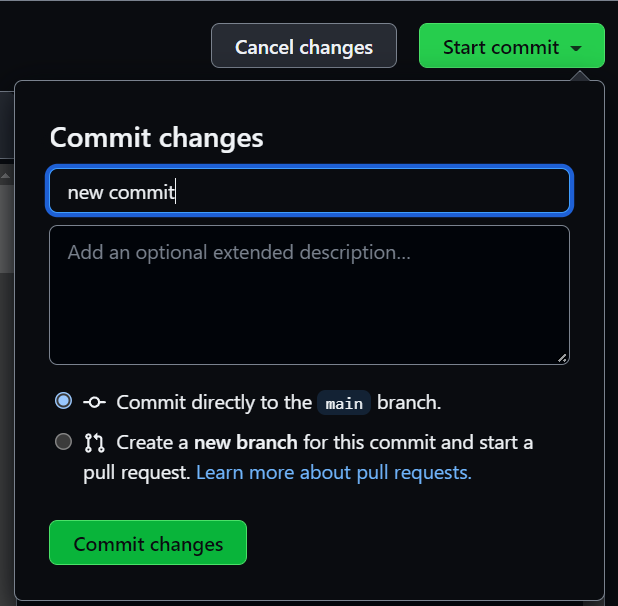
GitHub Repository for workflow: https://github.com/rishavmehra/Kubesimplify-CI-CD
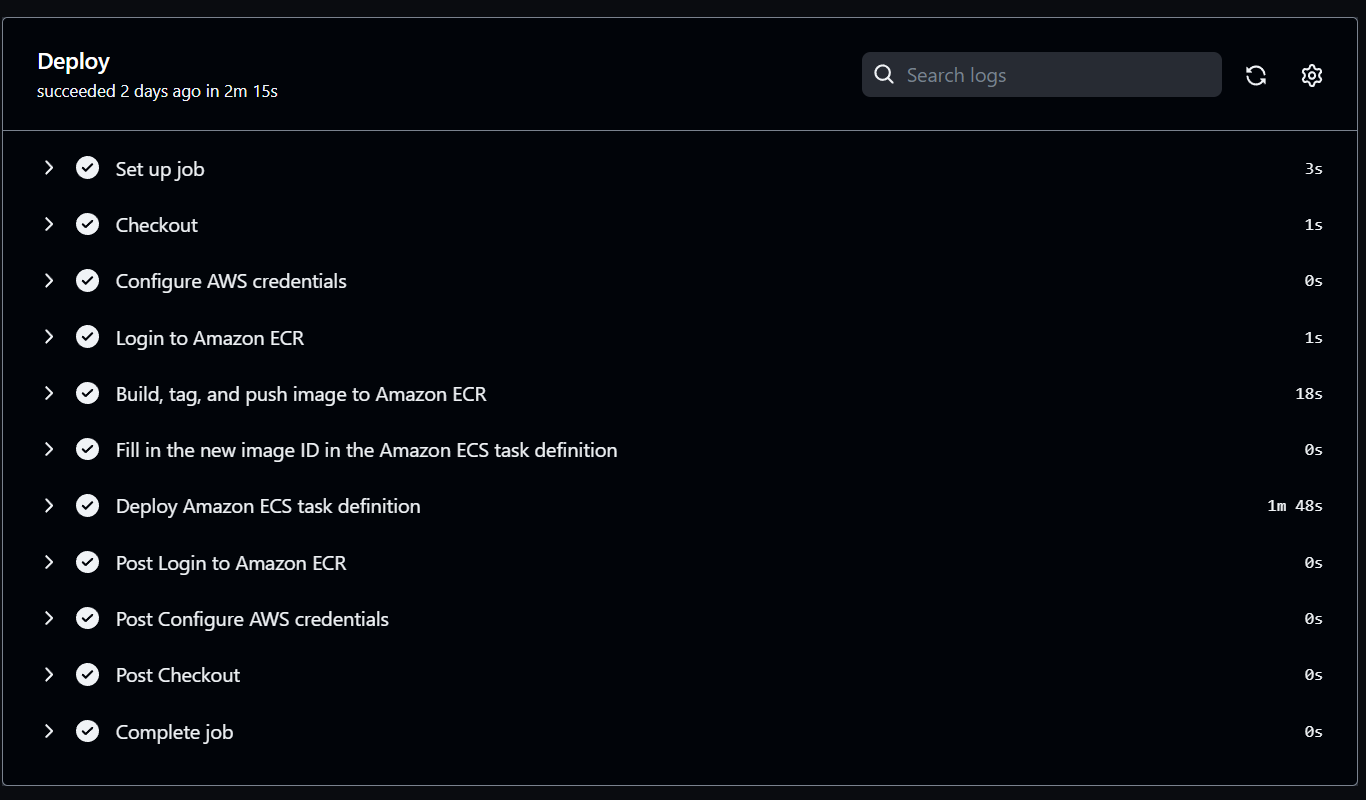
Deployment & Result
*** First deployment***
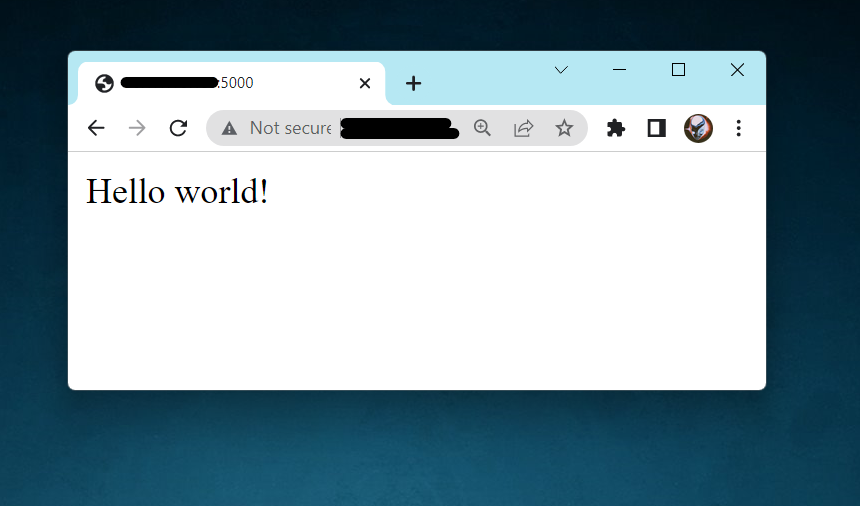
*** First Result***
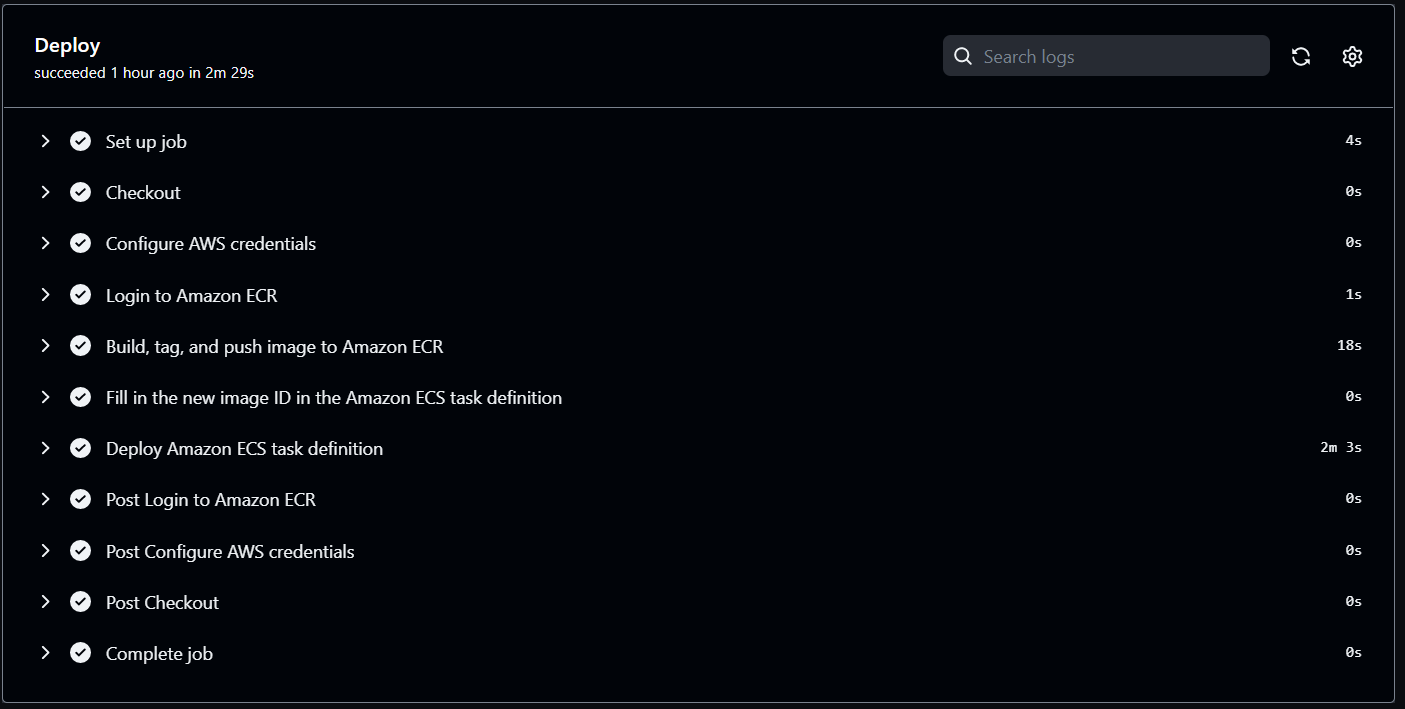
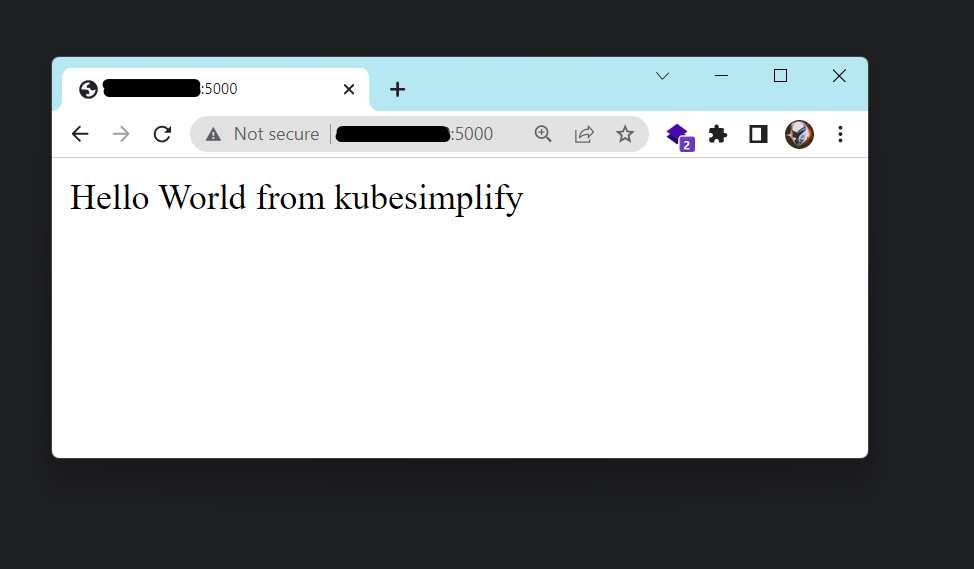
One More Test
The main working of CI/CD pipeline is automates your software delivery process. So, if you change ENV value of Dockerfile it will doing the same thing. It will change display value automatically.
ENV  MSG="Hello World!"     // previous value
ENV  MSG="Hello World from kubesimplify" // new Value
New Result:
*** Second deployment***
*** Second Result***
Congratulations! You have a working gh-actions CI/CD Pipeline to deploy your flask containerized application on AWS ECS whenever there is a change in your source code.
Cleanup the resources we created
it is always better to delete the resources you created while carrying out the POC
Delete the GitHub Secrets
Delete the GitHub Repository
Delete the IAM User
Delete the ECR Repository
Delete the ECS Cluster, Tasks, Services
Delete the EC2 resource
Conclusion
A CI/CD Pipeline serves as a way of automating your software applications’ builds, tests, and deployments. It is the backbone of any organization with a DevOps culture. It has numerous benefits for software development and it boosts your business greatly.


